CasaOS – Tinkering
Somewhere in my intertoobs wanderings I came across CasaOS and, given I had an idle Pi 4 laying around, I decided to poke at it. After all, if it works worth a damn it could help consolidate all the disparate systems I have running locally.
CasaOS is basically a slick Docker manager that rides atop another OS. Getting it up and running on the Pi with a fresh Raspbian install was painless. Simple configs, like mounting network shares, is a breeze. So far I have the following running in it:
- PiHole – Installed without a hitch. If this runs well it’ll replace the standalone PiHole Pi 3 I have running.
- Calibre Web – Also installed without a hitch. Love this, because I hate running the Calibre thick client full time on my server simply for its web interface. Not a lot of instructions on this one – just make sure you have your library mounted and defined as a volume in the container settings.
- Jellyfin – Another painless install (make sure to mount your files volume as described in the above Calibre Web settings). I installed this as a replacement for my current Jellyfin music server, which runs standalone in a fully fledged VM, gobbling unnecessary resources. But I stopped it midway through indexing my gajillion files because I discovered:
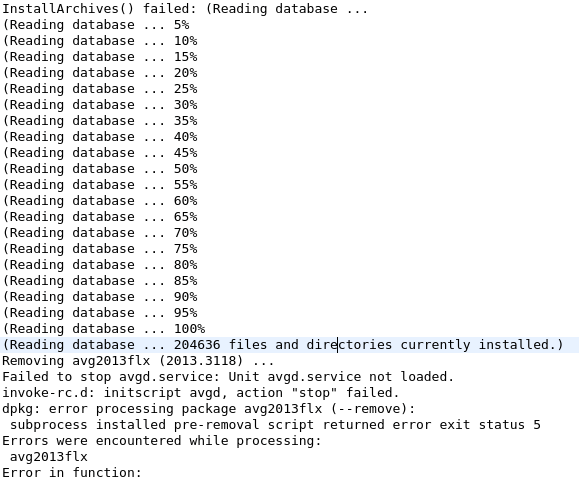
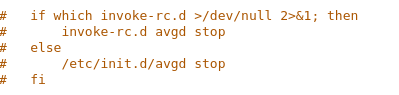
- Navidrome – Will it be better than Jellyfin for audio? I don’t know, but I’m giving it a shot. Currently still indexing – on directory number 12406. Heh. Now, Navidrome wouldn’t run initially, and CasaOS kept screaming that it was unhealthy. Its log filled with “exec /app/navidrome: exec format.” I discovered that the image I was pulling isn’t the most recent. I exported the ComposeFile from within the settings of the failed install, uninstalled it, and updated the image source in the ComposeFile to point to “ghcr.io/navidrome/navidrome:develop.” I then imported the file (Custom Install > Import from within the App Store) and it installed fine
- Memos – Completely painless install. Came across this randomly and figured maybe it’d replace my TiddlyWiki instance running on my server. We’ll see.
- Mealie – I ran across this neat app via some Youtubers Apps of The Year vid and was intrigued. An app that’ll scrape a online recipe page, pull the pertinent details of the recipe and ditch all the ads and fluff? Yes please! However, Mealie wasn’t in the default app store for CasaOS. I found CoolStore for Casa and added it as a source. From there Mealie installed no problem, and now I have a slew of other apps to sift through as well. Perhaps Casa can even replace my standalone VPN Pi. We shall see.