Windows 8.1 Clean install : We couldn’t find any drives. To get a storage driver, click Load Driver.
“We couldn’t find any drives. To get a storage driver, click Load Driver.” That’s the message I got trying to install Windows 8.1 on a slightly used drive for my heavily used desktop. Simply cleaning it in Diskpart solved the problem.
EDIT: LET ME CLARIFY. Doing the following is preparing your drive for a CLEAN OS INSTALL. This means you’re losing any data currently on the drive (technically you’re not erasing the drive, you’re just marking all the data as “gone” or “overwriteable,” so if you don’t continue and install an OS you can most likely recover it, but let’s just not go there). Don’t do this to a drive that has data you want to keep!
- Open an elevated CMD window
- Diskpart
- List disk – find the disk you want to clean
- Select disk XX – where XX is that disk number
- Clean
that’s it.


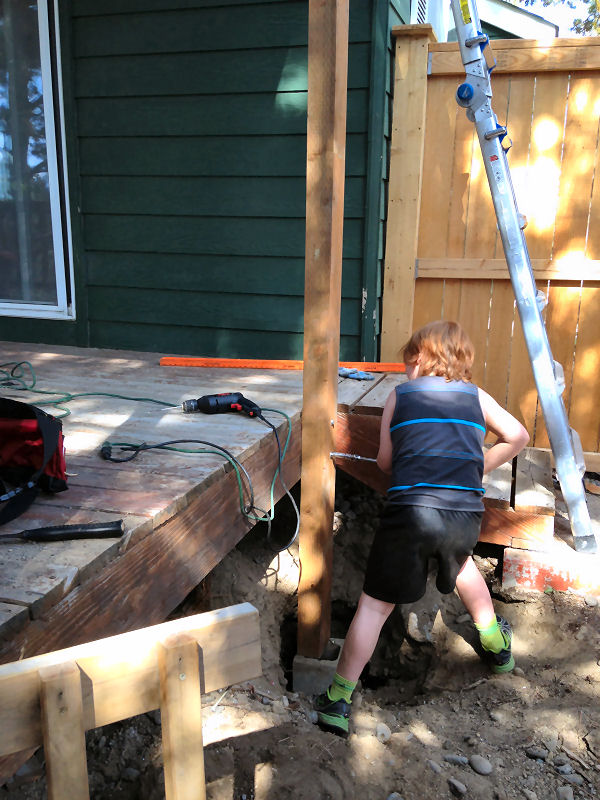
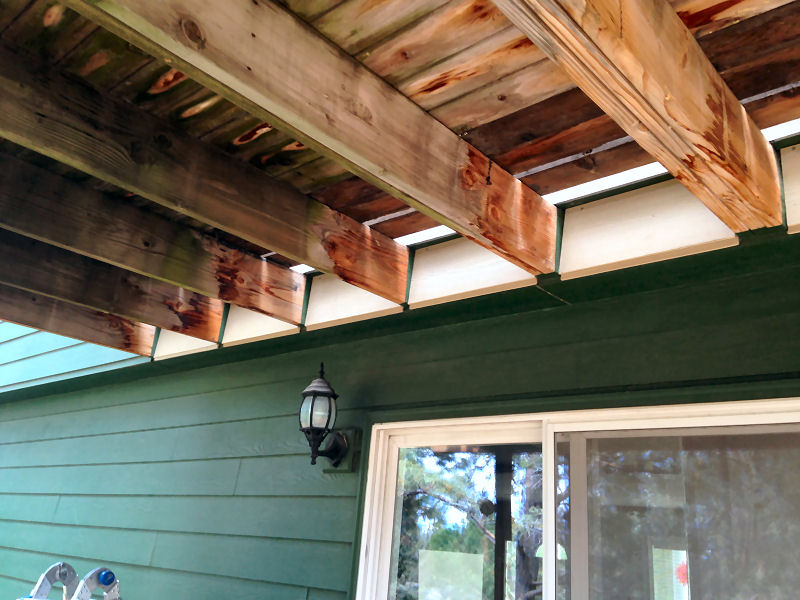
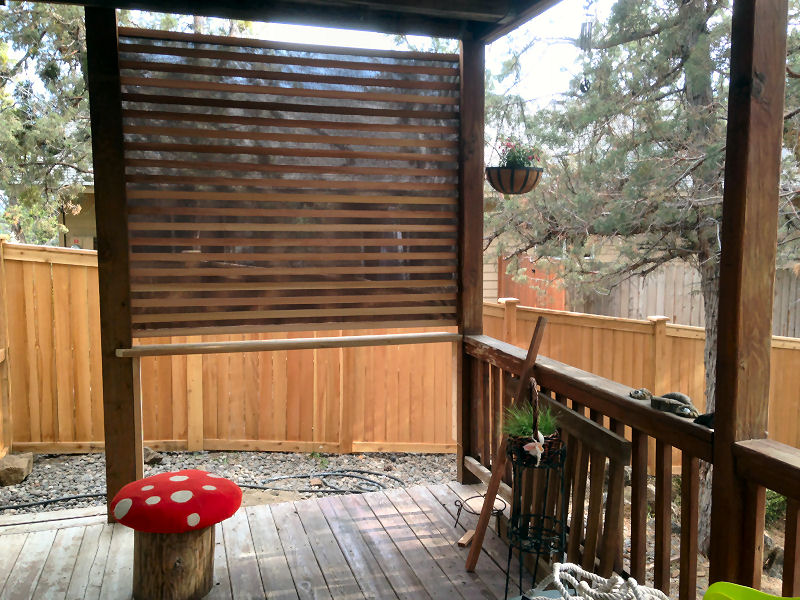 From the deck…
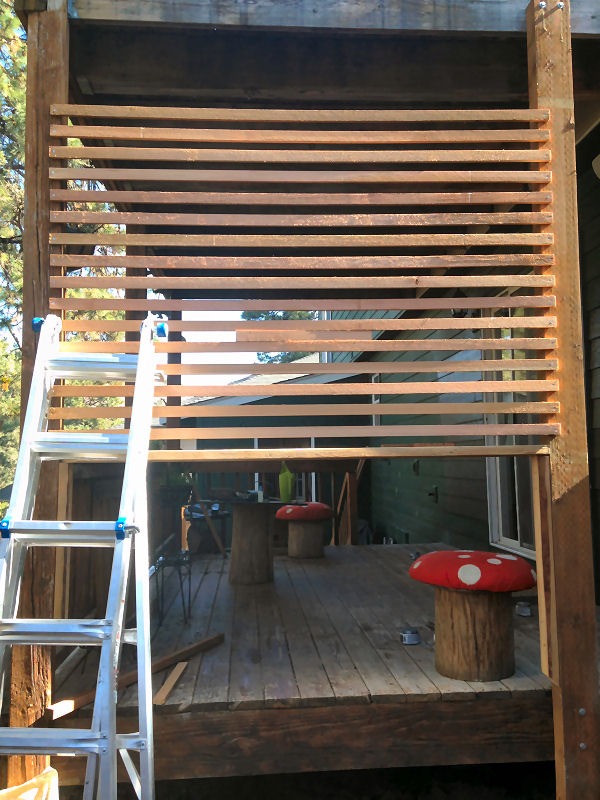
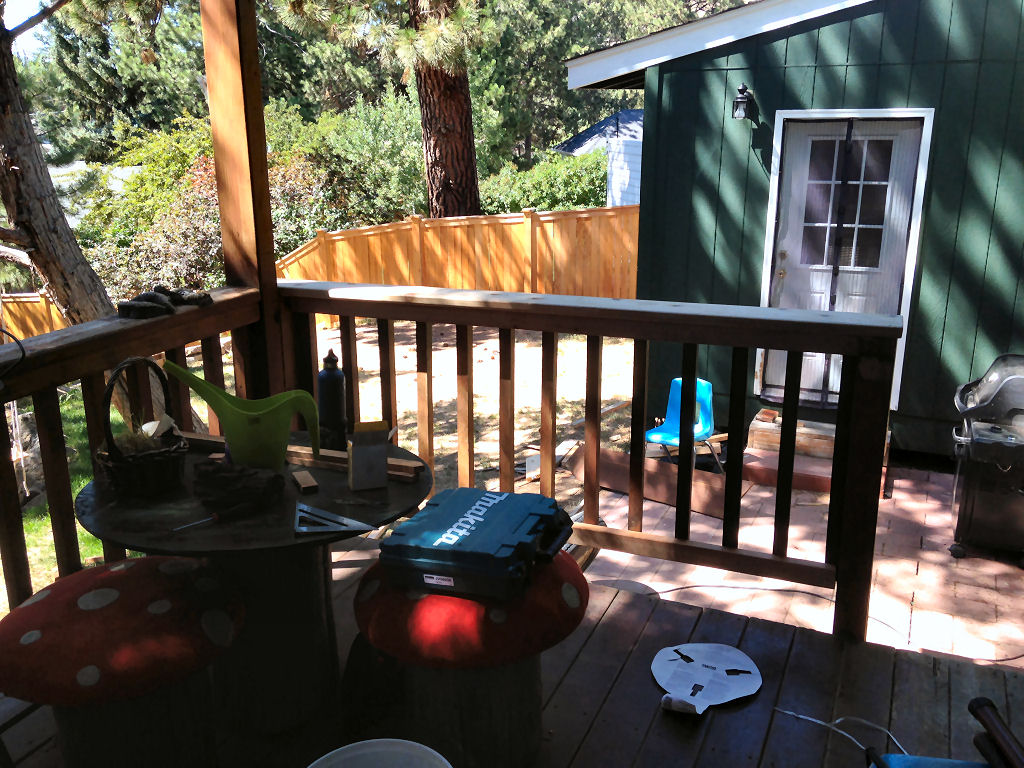
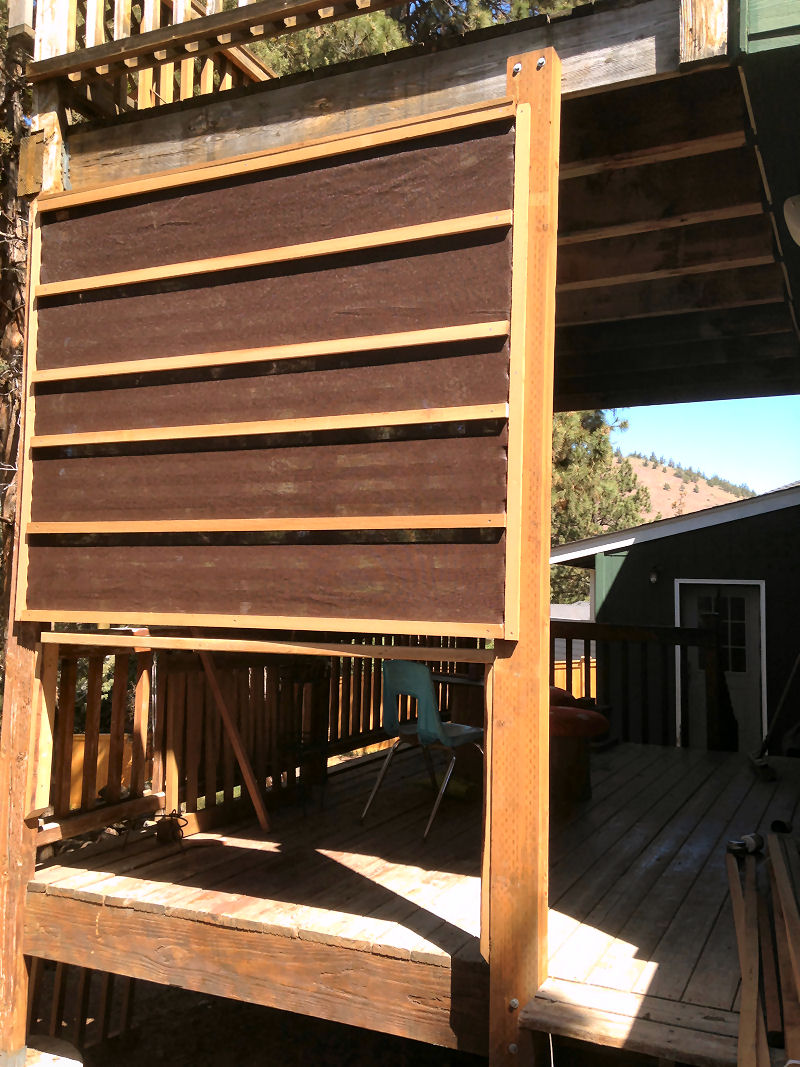 From the other side. I’ve abandoned the idea of replacing all those slats with cabling on the railings. While I think it would look groovy, it’s just too expensive. It’s stunning how much that stuff costs… I averaged it at around $60 plus a cable a side. Since code requires there to be no more than a 4.5 inch gap between them… well, you do the math. It’s just some damned metal wire and grommety ends. I don’t know why it’s so expensive. THE COST OF DECK CABLING IS TOO DAMN HIGH!